| Lesson 5 | Setting up A JDBC data source |
| Objective | Create a data source to be used in later lessons. |
Setting up JDBC Data Source
Because most servlet developers use the JDBC-ODBC bridge, this lesson will show you how to create an ODBC data source that
the bridge can access. This requires you to have the appropriate ODBC driver installed on your computer.
If you are using Windows, you will have the driver installed.
For instructions on installing the driver on a UNIX system visit this the page displayed below.
If you are using Windows, you will have the driver installed.
For instructions on installing the driver on a UNIX system visit this the page displayed below.
- Installing UNIX driver for JDBC Data Source
Creating Managed Data Source
In the previous section, a JDBC connection was obtained in the Connections navigator. A corresponding JNDI managed data source becomes available for the Connections navigator connection. A data source object is configured with a JNDI Name binding in the OC4J server integrated with JDeveloper. A data source may also be configured in the Embedded OC4J Server Preferences window directly, or may be configured declaratively by modifying the data-sources.xml file. We will discuss each of these methods for creating a data source. A data source may be configured at the Global level or the Current Workspace level. A Global data source is available to all applications while a Current Workspace data source is available only in the current workspace. To create a new Global data source, select Tools | Embedded OC4J Preferences and select the Global | Data Sources node, and click on the New button.
Before we are able to configure a managed data source, we need to configure a connection pool. In the Create Data Source window select Transaction Level as Connection Pool, specify a connection pool name, and click on the OK button.
Before we are able to configure a managed data source, we need to configure a connection pool. In the Create Data Source window select Transaction Level as Connection Pool, specify a connection pool name, and click on the OK button.
- New Connection Pool:
A new connection pool gets created and its tuning properties may be set, as required. In the Connection Factory window, specify a Factory Class, User name, Password, Login Timeout, and connection URL. The Factory Class is required to implement one of the following interfaces:
- java.sql.Driver,
- javax.sql.DataSource,
- javax.sql.ConnectionPoolDataSource,
- javax.sql.XADataSource.
The Factory Class for a MySQL managed data source can be a MySQL class that implements the javax.sql.DataSource interface, for example the com.mysql.jdbc.jdbc2.optional.MysqlDataSource and com.mysql.jdbc.jdbc2.optional.MysqlConnectionPoolDataSource classes, or it can be a class that implements the java.sql.Driver interface, for example the com.mysql.jdbc.Driver class. Whether a class implementing the java.sql.Driver interface is used, or a class implementing the javax.sql.DataSource interface is used, the OC4J server wraps the class and provides an implementation of the javax.sql.DataSource interface. We will use the data source class com.mysql.jdbc.jdbc2.optional.MysqlConnectionPoolDataSource. A Password is not required for a root user, by default. Specify the connection URL as
jdbc:mysql://localhost:3306/test.
Click on OK to configure the connection pool.
Setting up DSN (Data Source Name)
Before your program can access the data through the bridge, ODBC must be able to find it. Arranging this is called "Setting up a DSN". DSN stands for Data Source Name. Once a DSN is in place, ODBC accesses the data only through this DSN. That makes it easy to move a database without changing any code, simply by reconfiguring the DSN. The steps that follow illustrate the process on Windows Desktop and Windows server. UNIX users should follow the steps provided with their drivers to set up an Access DSN. First, you create the database with a database program such as Access or SQL Server. Remember to take note of the file name and the full path to the file, you will need it when you set up the DSN. Use the following simulation to learn the steps involved with setting up a DSN.
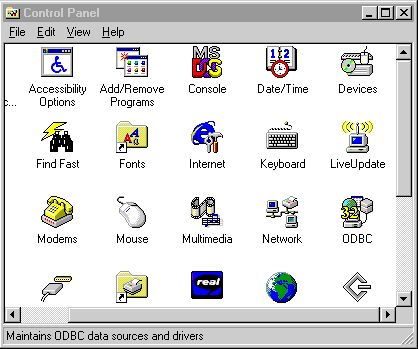
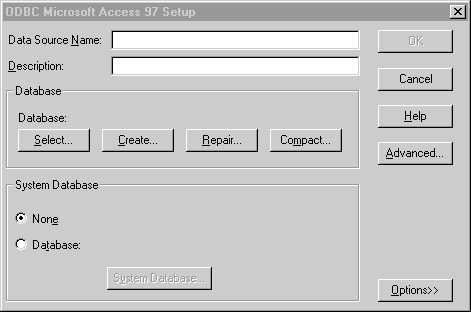
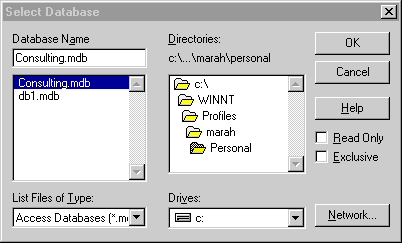
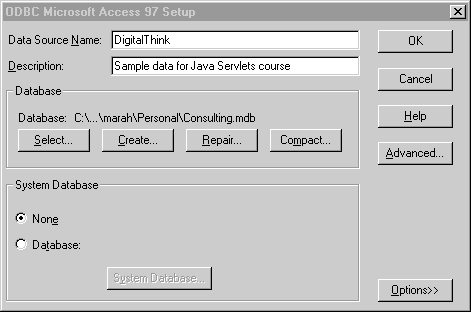
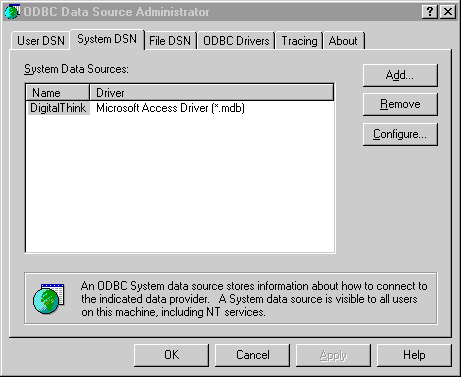
- Begin by opening the Control Panel, by choosing Start, Settings, Control Panel.
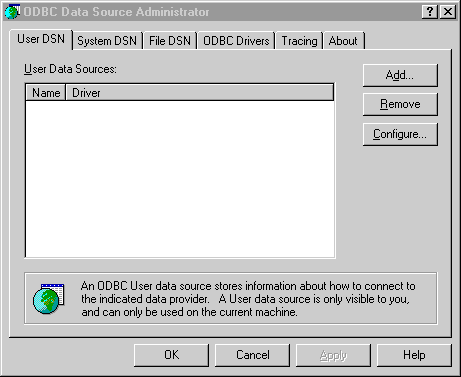
Find the control panel item called 32-bit ODBC (on NT, it’s just called ODBC) and double-click it to launch ODBC.
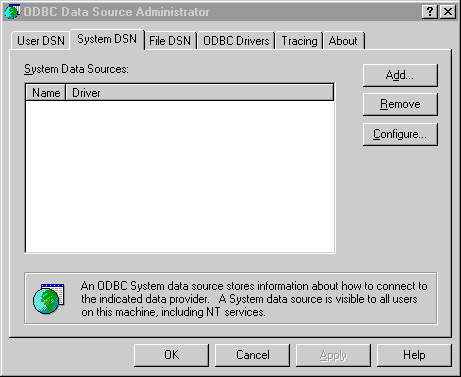
- So that the servlets can see the database, you need to create a System DSN on the same computer that will run your Web server. You need to bring the System DSN tab to the front by clicking the System DSN tab.
- Click the Add button on the System DSN tab to add a System DSN.
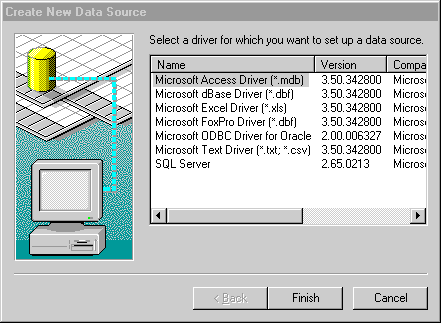
- Here you choose the driver to create a new data source.
Notice I have selected the Access driver, which can read and write Access files.
Click Finish on the dialog box to move on to creating the new data source. - Name your datasource and add a description before connecting this datasource name to a real database.
In the Datasource Name field type in “javadeploy.com”. In the Description field type in “Sample data for Java Servlets course.
” Since I’ve already created an Access database, click Select to browse to the path of the database.
- Browse to the location of the database and select the file (I’ve done this for you). Click OK to return to the Setup dialog.
- Click OK to accept your datasource name, description and path.
- You can now see the new DSN added to the list.
In the next lesson, you will learn where to add connection code to connect to this DSN.
Setting Up JDBC Data Source - Exercise
The following exercise asks you to set up your own data source.
Setting Up JDBC Data Source - Exercise
Setting Up JDBC Data Source - Exercise